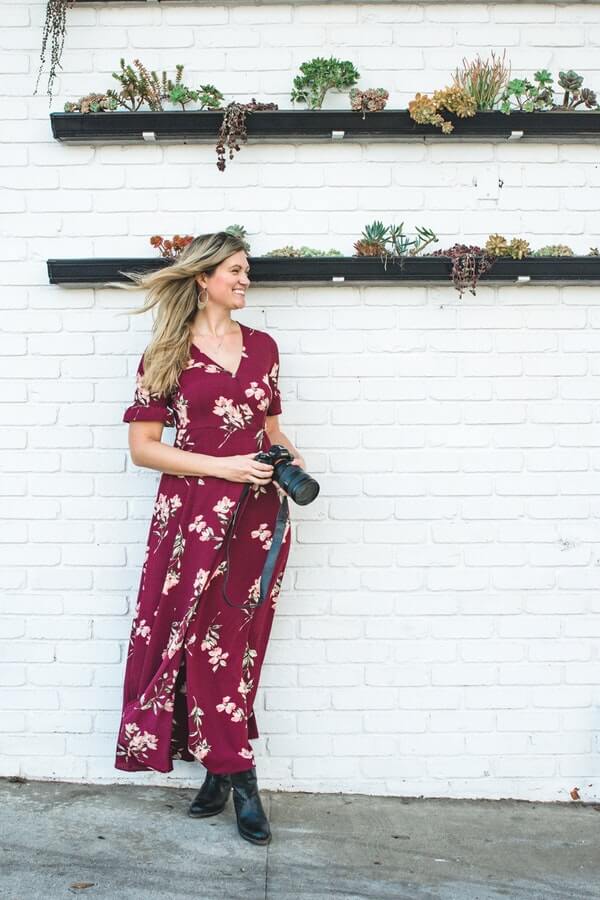
If you are new to photography or expanding your skills, you may be wondering about gear. With so many different cameras, lenses, and accessories, it can be complicated to determine what to buy. After receiving many questions about camera gear, I’ve compiled a list of my camera gear essentials.
I choose to shoot with a Sony mirrorless camera. Sony is the brand I use because of the sleek and light design of the mirrorless body. The body of the Sony is much more compact and travel-friendly than the bulkier DSLRs of other brands.
The body of the Sony is lightweight and slim. Sony also has some great technology features, including Bluetooth sharing. You can transfer pictures from your camera to your phone or computer over Bluetooth. You can also download the camera app on your phone and use your phone as a remote to take pictures. When you are a solo traveler and trying to get pictures of yourself, having the remote on your phone is very handy.
Camera For The Beginner
For a starter camera, I recommend a body in the mirrorless Sony a6000 series. You can get decent priced packages that combine the camera body and one to two lenses. With a starter camera, you can easily use the auto features for photography and learn the basic use of a camera. Also, the starter lenses tend to be smaller and lighter in weight than the upgraded lenses. Even as you grow your photography gear, hold onto these lenses to use if you want a lighter weight camera.
For An Upgrade
Sony Alpha7 Series
The newest and most elite camera body in the Sony family is the Sony Alpha7iii. I personally have not upgraded to this model yet and I shoot with an older model in the Sony 7 series. If you are going to upgrade your camera model and lenses, I highly recommend learning to shoot in the manual settings. Auto settings are great and I’ve used auto for years. However, the depth and effects that you can achieve with higher-end gear truly comes with your knowledge of how to use the gear to its maximum potential. A lot of that occurs in the manual settings.
While the camera body controls an important part of your photography, the lenses that you use are going to make the greatest impact on your work. If you get a starter camera, it will likely come with a “kit lens” or starter lens. Kit lenses are usually a zoom lens with a low range of aperture. To add greater perspective to your photos, you will want to invest in some higher quality lenses.
Sony FE 24-70mm f2.8 Standard Zoom Lens
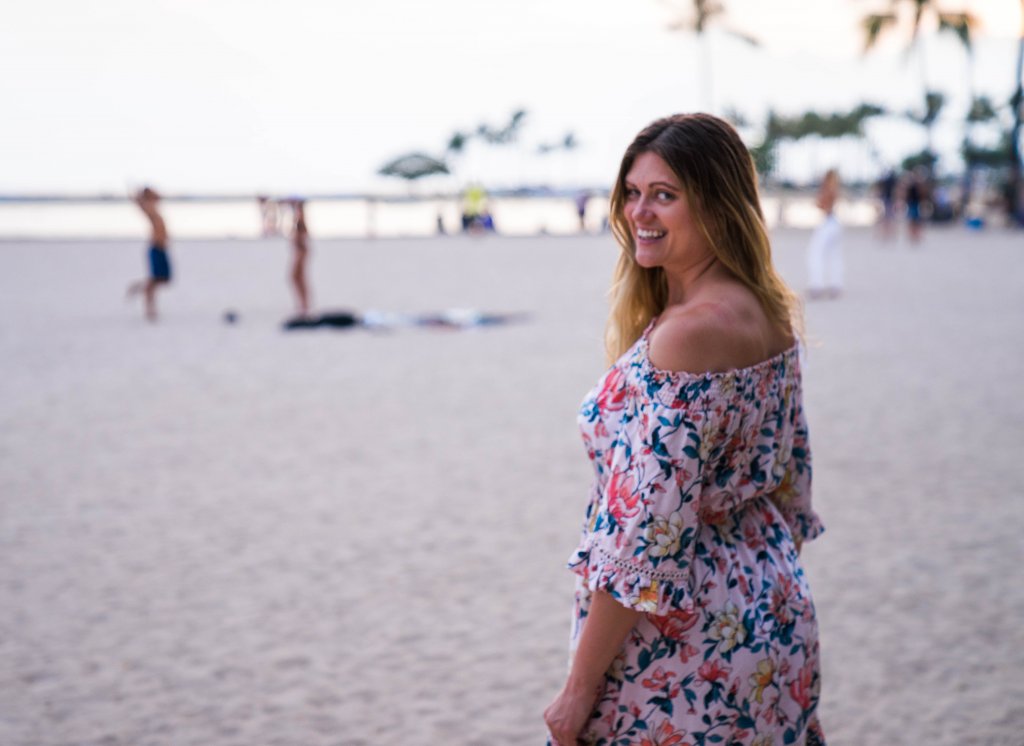
The Sony FE 24-70mm f2.8 is amazing and is my go-to everyday lens. It has a nice range of field for everyday shooting. Since the aperture goes as low as 2.8, it allows you to create blurred background effects. For example, I can be in focus in the front of the shot and have a blurry, out-of-focus background behind me.
I will say that the one negative thing about this lens is that it is rather large and adds some significant weight to the camera. However, you can always switch this lens out for your camera’s kit lens if you want the camera to weigh less.
Sony FE 16-35mm f4.0
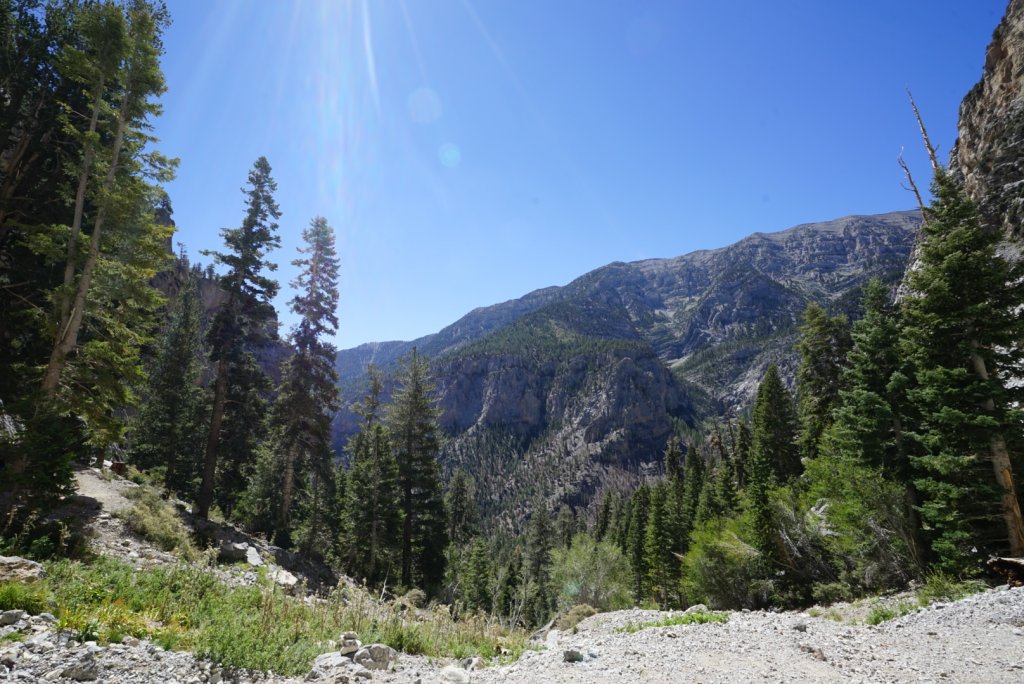
If you are going to be shooting landscapes or wide frames, I recommend getting a lens with a wider field. I use the 16-35 f4.0 to capture everything from mountains to beachscapes. Since I tend to use this lens to capture landscapes with sharper detail, I recommend purchasing the f4.0, versus paying another $1,000 to purchase the f2.4. While you may want a lower aperture on an everyday lens, a wide-angle lens doesn’t necessarily have to go that low for daytime landscape shooting.
Sony FE 50mm f1.8
The 50mm f1.8 is a prime lens, meaning that it does not offer zoom capabilities. It is a fixed length. Therefore, if you want to zoom in or out on something, you physically have to move yourself and the camera to do so. The benefit of this prime lens is that is has a low aperture. This lens has a 1.8 aperture and I have been able to get some really cool shots with this. This is a good lens for taking photos of objects, such as food and outfits. It is also a good lens for portraits and fashion. Unlike the Sony zoom lenses, this lens is lighter weight and does not add much extra weight to the camera.
For The Adventurer
GoPro
Having a GoPro is a MUST for me as a photographer. GoPros are amazing for a variety of reasons. First of all, they are compact in size. If you don’t want to haul a big, weighty camera with you, a GoPro can fit in your pocket. Secondly, they are durable and waterproof. Generally speaking, most cameras do not handle water exposure well. Getting caught in the rain could potentially ruin a camera. However, the GoPro Hero 5,6, and 7 are completely waterproof. You can take them in the ocean, pool, and waterfalls for underwater shots. Also, if you think that you may be exposed to rain or snow, taking your GoPro instead of your regular camera is a much safer decision to avoid water damage.
You can also shoot in RAW in GoPro, which is good if you want to edit the photos afterwards. The GoPro will also let you manually select some settings and you can change the field from wide-angle to normal to a narrow range of focus. There is definitely a lot that you can do with a GoPro and I’m always amazed by the work of GoPro photographers. Like the Sony, you can also send your photos to your phone over Bluetooth. And, you can use your phone as a remote to shoot pictures of yourself.
Accessories
Tripod
A tripod is a MUST for all photographers. Especially those shooting long exposures (night time photography) or those solo travelers who want to capture pictures of themselves. Many people ask me how I take pictures of myself while traveling solo. The answer is simple, the majority of times I use a tripod. I set up my tripod and use either the self-timer or Bluetooth remote on my phone to take photos. I find that using a tripod is wayyy more reliable than asking a stranger to take my photo.
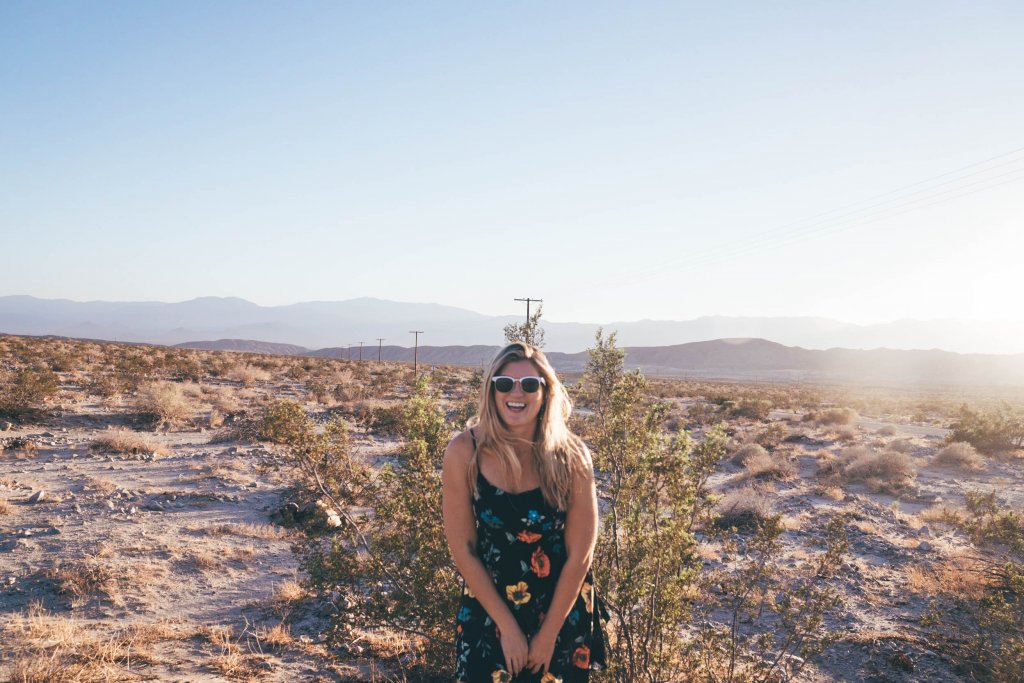
You also need a tripod if you want to practice night photography. In order to capture light at night, you need to open the exposure for the photo for a long time: upwards of 30 seconds. In that time, the camera needs to be completely still. If the camera moves even a little bit, the whole image will get blurred. For that reason, it’s impossible to hold a camera in your hands to take a photo at night and have it turn out clear. By placing the camera on the tripod, you can have it stay stable for long exposures at night.
GorillaPod
A gorilla tripod is amazing because it’s more compact than your traditional tripod and has flexible legs that you can bend and secure. I’ve attached gorilla tripods to patio tables and trees to name a few. I regularly use gorilla tripods for doing video over my phone. I attach my phone to the tripod and then set it up for video.
GoPro 3-Way Mount
The GoPro has so many incredible accessories that it’s hard to know where to begin when purchasing them. For the best of all worlds, I recommend buying the 3-way mount. You can do so much with this one accessory. It can become a tripod, long arm mount, and a short mount. This would be the first GoPro accessory that I would recommend purchasing.
GoPro Dome
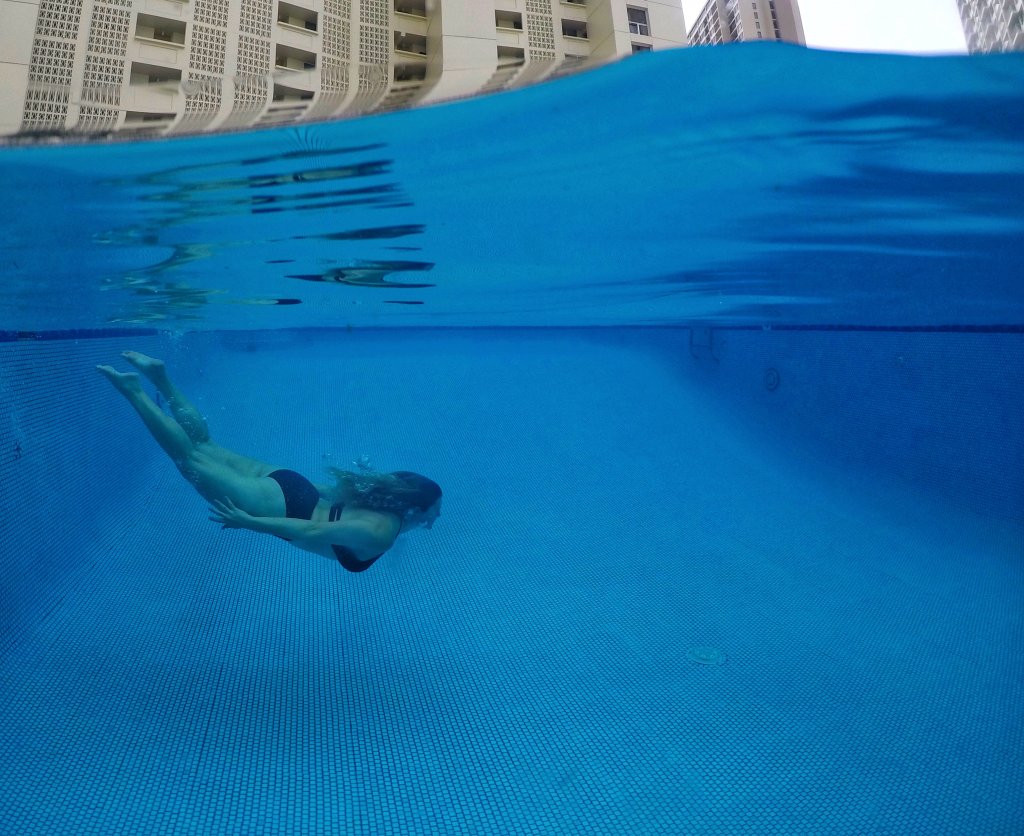
Have you ever wondered how people capture epic water shots that are half above water and half below? (See shot below). They do it using a dome. For the already-waterproof GoPro, it’s super cheap and easy to get a dome. They run $45-$50 on Amazon, which is cheap compared to the cost that you pay for underwater housing and a dome on a traditional SLR camera. The dome is by far my favorite GoPro accessory. I love using it and have so much fun in the water when I bring this in with me.
Dry Bag
As mentioned above, traditional SLR cameras tend to be very sensitive to water exposure. Even a few raindrops or snowflakes could cause some damage. If you are going out with your gear and expect to encounter any water, I recommend keeping your gear rolled up in a dry bag. When used correctly, dry bags are waterproof and can save your gear from unwanted water damage. They are also relatively cheap to purchase and lightweight. I put my gear in a dry bag anytime I go on a boat or a hike that may have precipitation.
Editing
Lightroom Subscription
While I just spent this whole piece talking about camera gear, the truth of the matter is that the real magic of photography happens during the editing process. A Lightroom subscription is definitely a gift to buy yourself and a gift that keeps on giving. Adobe Lightroom is the gold standard in editing software for photography. Because it has so many features, it does take some time to learn all of the ins and outs. Once you learn the software, there is a lot that you can do with it. You can also download the Lightroom app for your phone, which is helpful to edit photos on the go. The Lightroom app for your phone is free. If you want to purchase a monthly Lightroom and Photoshop subscription for your desktop, Adobe plans start at $9.99/month. With the subscription, you will have access to all of the software upgrades as they occur.
Photography gear can be overwhelming AND expensive! Photography is not a cheap hobby. If you are starting out, I definitely recommend a starter camera with 1-2 kit lenses to determine if you like using the gear or not. From there, you can upgrade your gear or even try another brand of camera. I enjoy using Sony, but that’s not necessarily a fit for everybody.
Free E-Book & Newsletter
Subscribe to get our latest content and stay up to date by email
